[vc_row type=”in_container” full_screen_row_position=”middle” scene_position=”center” text_color=”dark” text_align=”left” overlay_strength=”0.3″ shape_divider_position=”bottom”][vc_column column_padding=”no-extra-padding” column_padding_position=”all” background_color_opacity=”1″ background_hover_color_opacity=”1″ column_shadow=”none” column_border_radius=”none” width=”1/1″ tablet_text_alignment=”default” phone_text_alignment=”default” column_border_width=”none” column_border_style=”solid”][vc_column_text]UTM (Urchin Traffic Monitor) parameters are used on the Web by Google Analytics to track traffic to a website or page. UTMs are a specific way of using what are more generically referred to as Query String Parameters (QSPs). QSPs can be used to send a variety of extra information to a webpage.
Here is an example of what a URL with UTMs might look like:
http://mygreatsite.com?utm_campaign=myGreatCampaign&utm_medium=email&utm_content=banner&utm_source=internal
Everything after the question mark is the Query String. Items before an equal sign are a Variable, and items after an equal sign are the Variable’s Value.
UTMs can be used by Marketers to:
- Measure Campaign effectiveness
- Identify where Leads are coming from
- Measure Engagement
Capturing UTMs (or any QSP) with JavaScript
QSPs can be read by JavaScript and saved into hidden fields on your Forms. I like to use jQuery when to improve efficiency in working with JavaScript and the Document Object Model (DOM).
Place jQuery between the <head> and </head> tags.
 <html>
<head>
<!-- Other head information goes up here -->

<script src="<path to your jQuery script goes here>"></script>
<script>
// ---------------
// Requires jQuery
// ---------------

// ----------------------------------------------------------
// Utility function for getting Query String Parameter values
// ----------------------------------------------------------
getParameterByName = function(name) {
    query = window.location.search.toString();
    name = name.replace(/[\[]/, "\\\[").replace(/[\]]/, "\\\]");
    var regexS = "[\\?&]" + name + "=([^&#]*)";
    var regex = new RegExp(regexS);
    results = regex.exec(query);
    if (results == null) return "";
    else return decodeURIComponent(results[1].replace(/\+/g, " "));
}

$(document).ready(function() {
    // -------------------------------------------------------------------------
    // Set these Variables to the HTML names of the fields if they are different
    // -------------------------------------------------------------------------
    var $utmSource   = $('[name=utm_source]'),
        $utmMedium  = $('[name=utm_medium]'),
        $utmContent  = $('[name=utm_content]'),
        $utmCampaign = $('[name=utm_campaign]');

    // --------------
    // Set the Values
    // --------------
   $utmSource.val(getParameterByName('utm_source'));
   $utmMedium.val(getParameterByName('utm_medium'));
    $utmContent.val(getParameterByName('utm_content'));
   $utmCampaign.val(getParameterByName('utm_campaign'));
});
</script>
<!-- other Scripts go down here -->
</head>
<body>
<!-- Your Form goes down here -->
<!-- …along with other Content -->
</body>
</html>
Include Google Analytics in your page as you normally would.
What is going on in the Script?
getParameterByName() is a function that will retrieve a query string parameter’s associated value. It is used to take the value from the URL and place it in the hidden fields on the form. You will need to be sure the names used in the script match the HTML names of the hidden fields you will create in Eloqua.
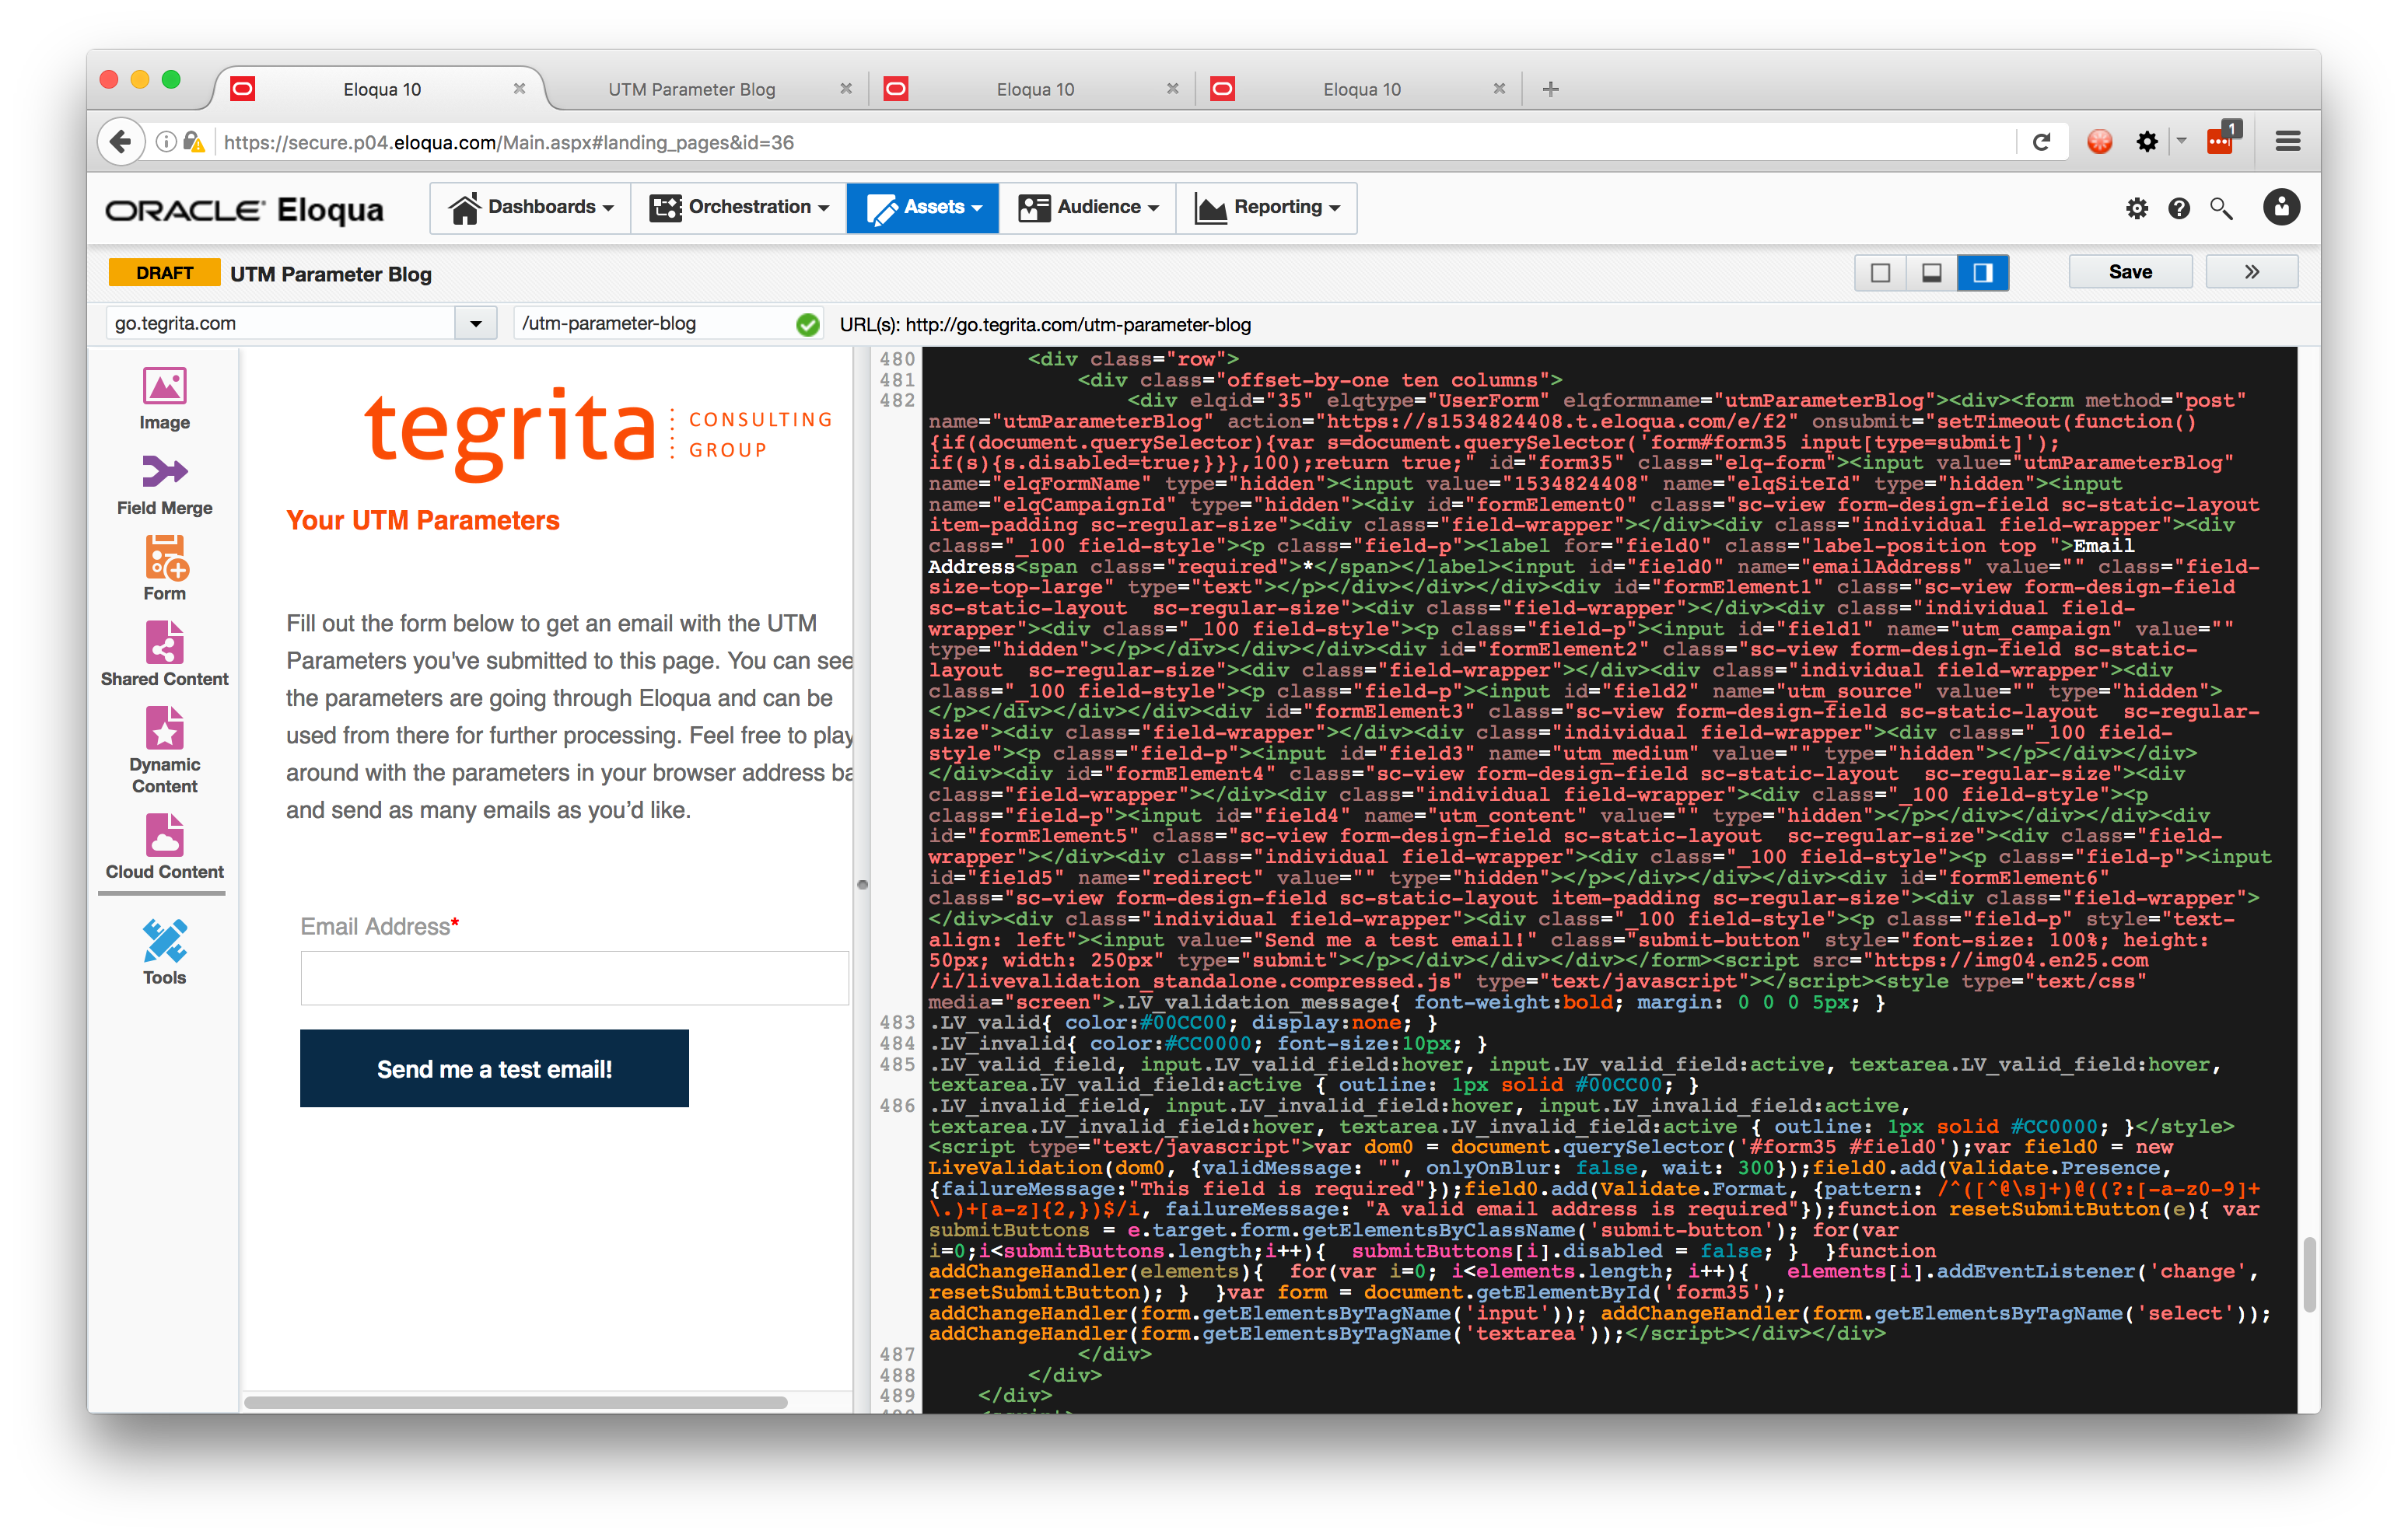
Save the Data somewhere (Eloqua)
- Eloqua Forms require a hidden field for each UTM being captured
- Create your Form in Eloqua (use hidden fields, and not text fields)
- Name the fields the same in Eloqua as in the code above
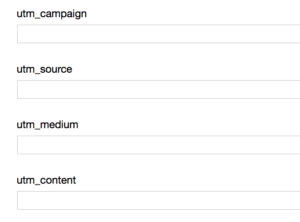
- This will result in the following hidden fields in the generated HTML (Eloqua will also add IDs, I have left them out):
<input type=”hidden” name=”utm_source” />
<input type=”hidden” name=”utm_medium” />
<input type=”hidden” name=”utm_content” />
<input type=”hidden” name=”utm_campaign” />
Use the Data
Add the Form Processing Step, “Update Contacts – With Form Data” to save each field to a corresponding Contact field. Or, use, “Update Custom Data Object – With Form Data” to save to a CDO. Once the data is saved to one of these records, you will be able to use it in Segmentation, Personalization, and Reporting. Another way you can use these values is to add conditional steps in your Form Processing based on the field values. Maybe you need to send an Email notification to someone within your Organization for a given Form. With a conditional Send Notification Email step, you can ensure an Email is sent out only when it is necessary.
Click on this link, change the URL and you will receive an email with your QS.
Your Journey Begins…
UTMs are a great way to supplement your understanding of your Eloqua Contacts. With a little bit of code, you can capture that information within your Eloqua database, as well as within Google Analytics. Furthermore, you are not limited to capturing UTM Parameters. With this technique you can obtain any QSPs for other uses. Other ways in which you can use this information are for custom Thank You page routing, notifying specific Stakeholders within your Organization, moving Contacts into more appropriate Campaigns, and much more!
At Tegrita, we regularly use UTMs and QSPs to help our Clients maximize their use of Eloqua. Information gathered from QSPs can be used to inform Marketing, Sales, and to create special User Experiences. For more information on how we can help you, contact us today![/vc_column_text][nectar_btn size=”medium” open_new_tab=”true” button_style=”regular” button_color_2=”Extra-Color-1″ color_override=”#fa4c06″ icon_family=”none” url=”http://go.tegrita.com/utm-parameter-blog?utm_campaign=test-campaign&utm_source=test-source&utm_medium=test-medium&utm_content=test-content” text=”UTM Parameters” margin_top=”25px”][/vc_column][/vc_row]